2 minutes
Toyota Pickup Camper Build-out Part 1.5
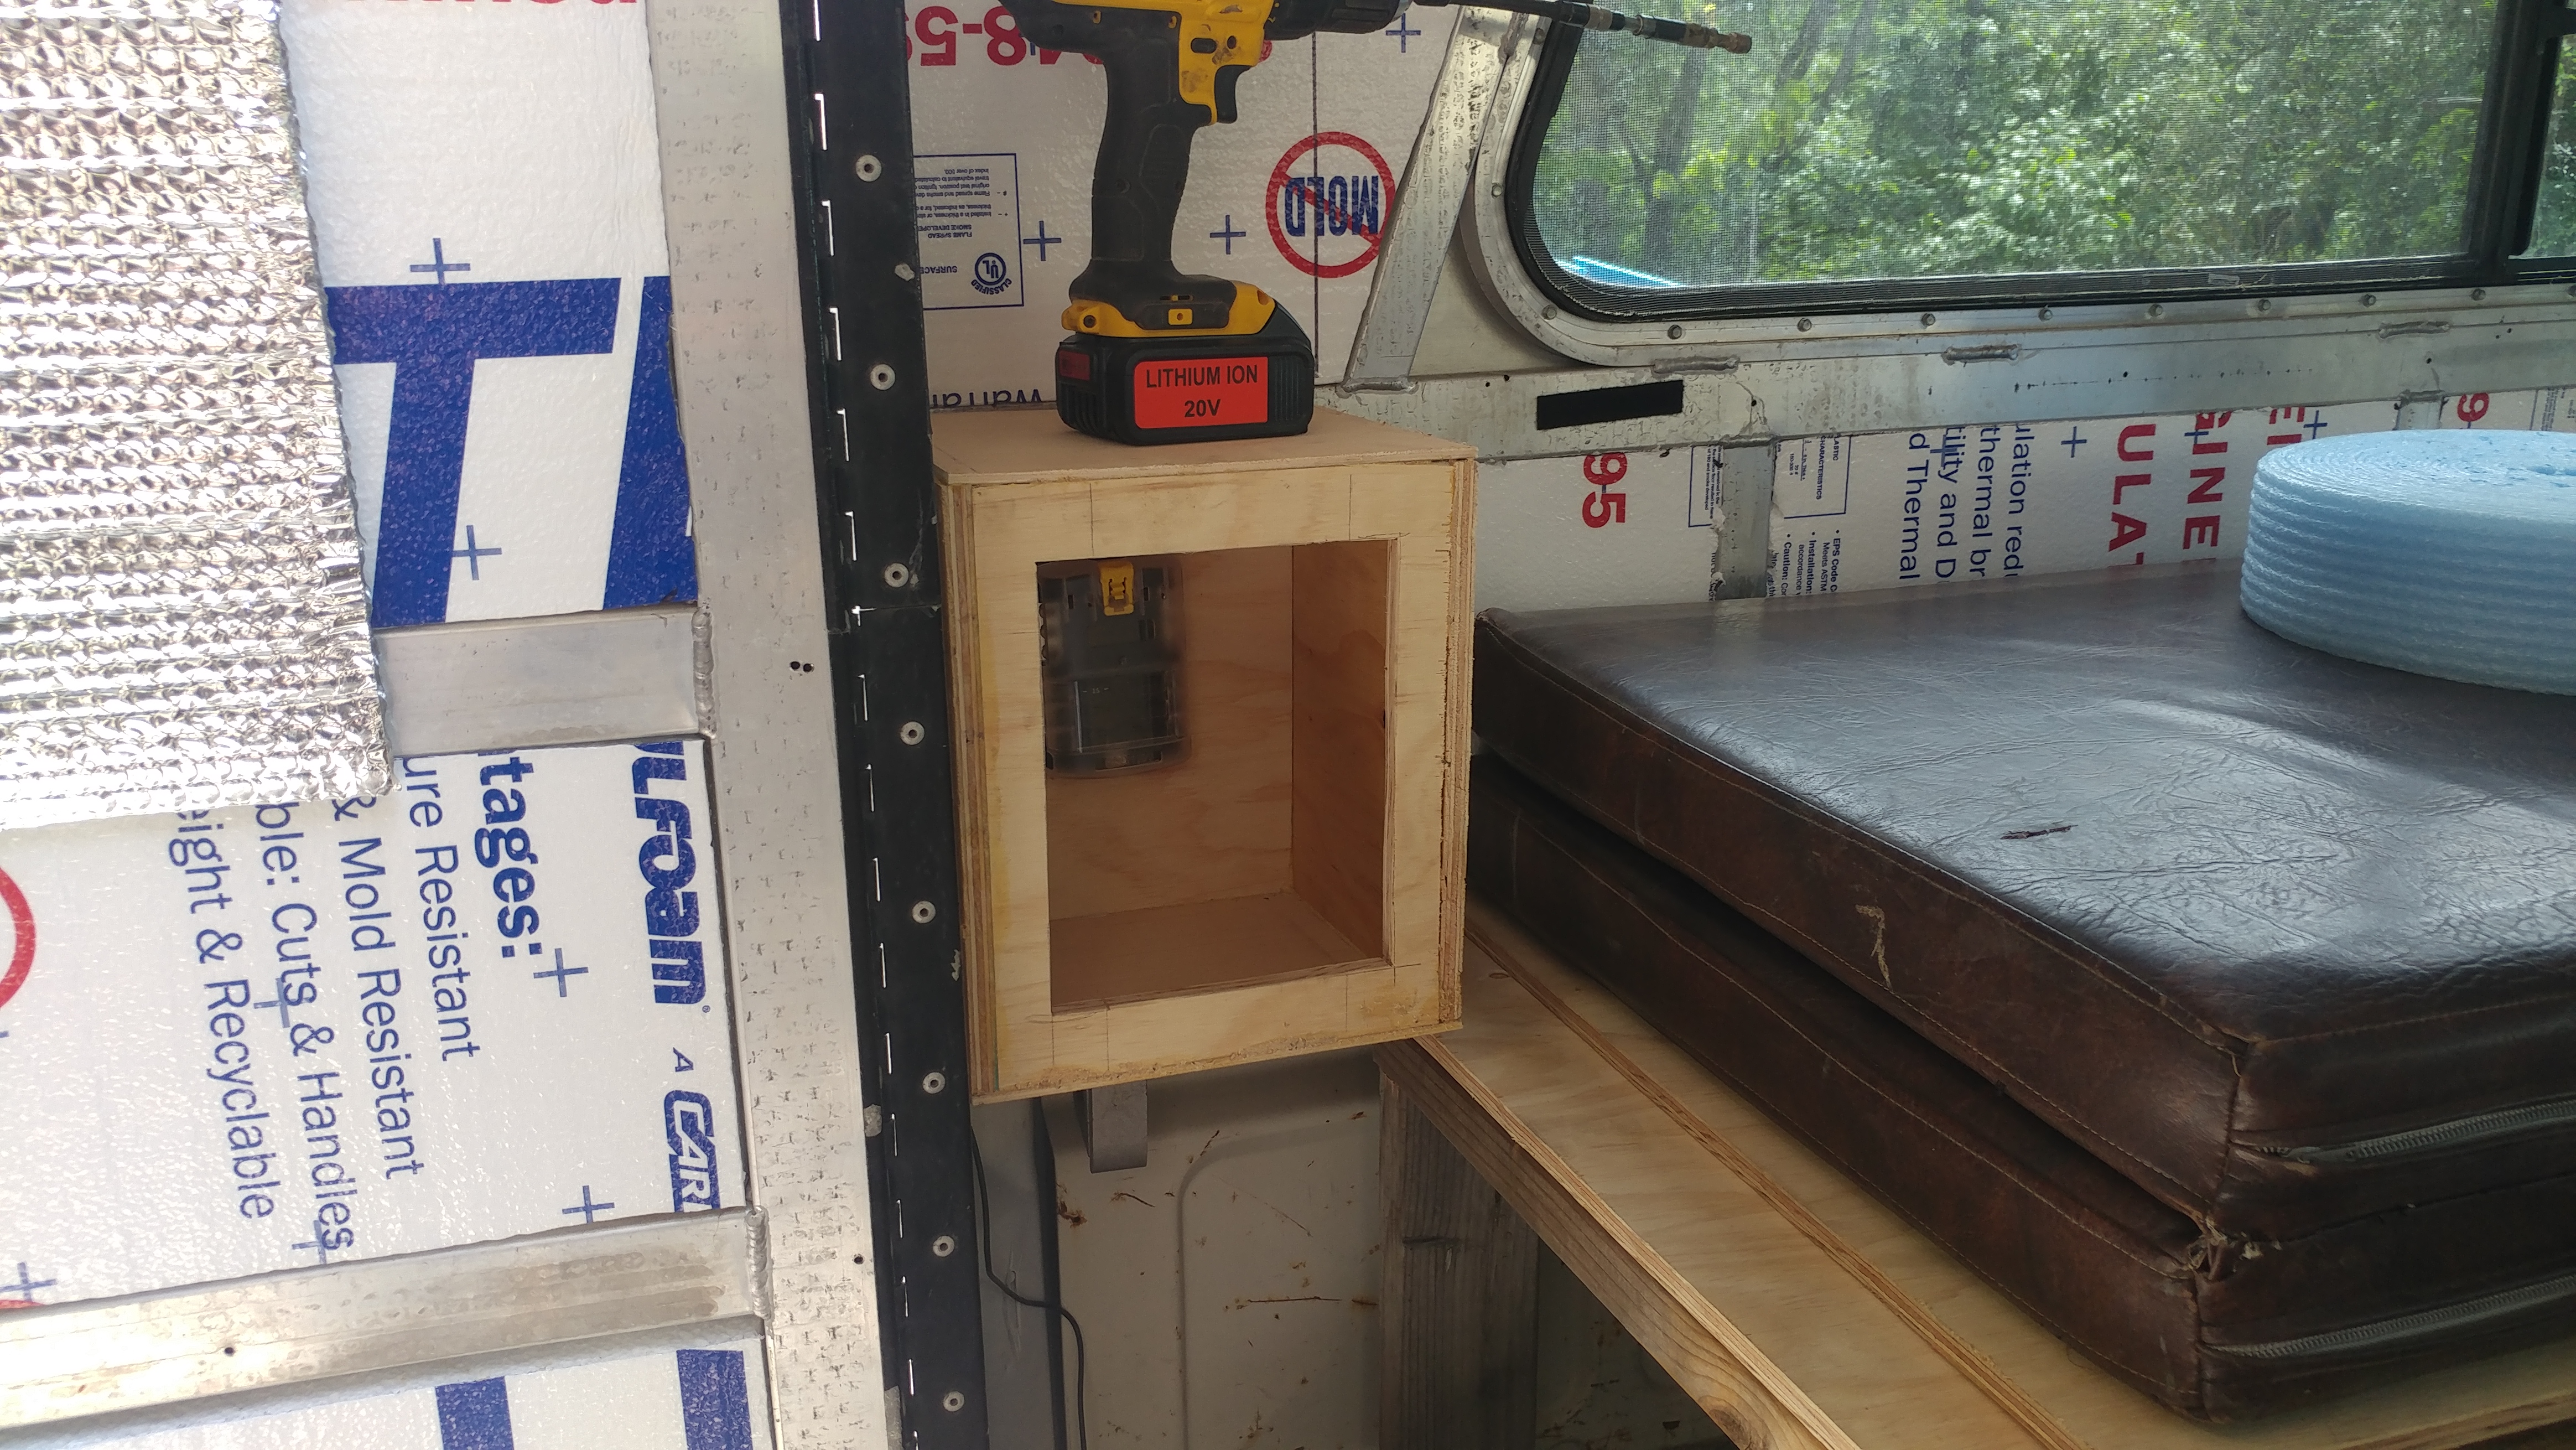
Here is the start of the electrical system. Right now, the only circuit that I have are the 4 panel mount LEDs in the ceiling that are mounted on off-cuts of door skin. I made a housing with some scrap plywood and some door skin for the top and bottom. It is mounted temporarily to the structure of the camper with some self-tappers.

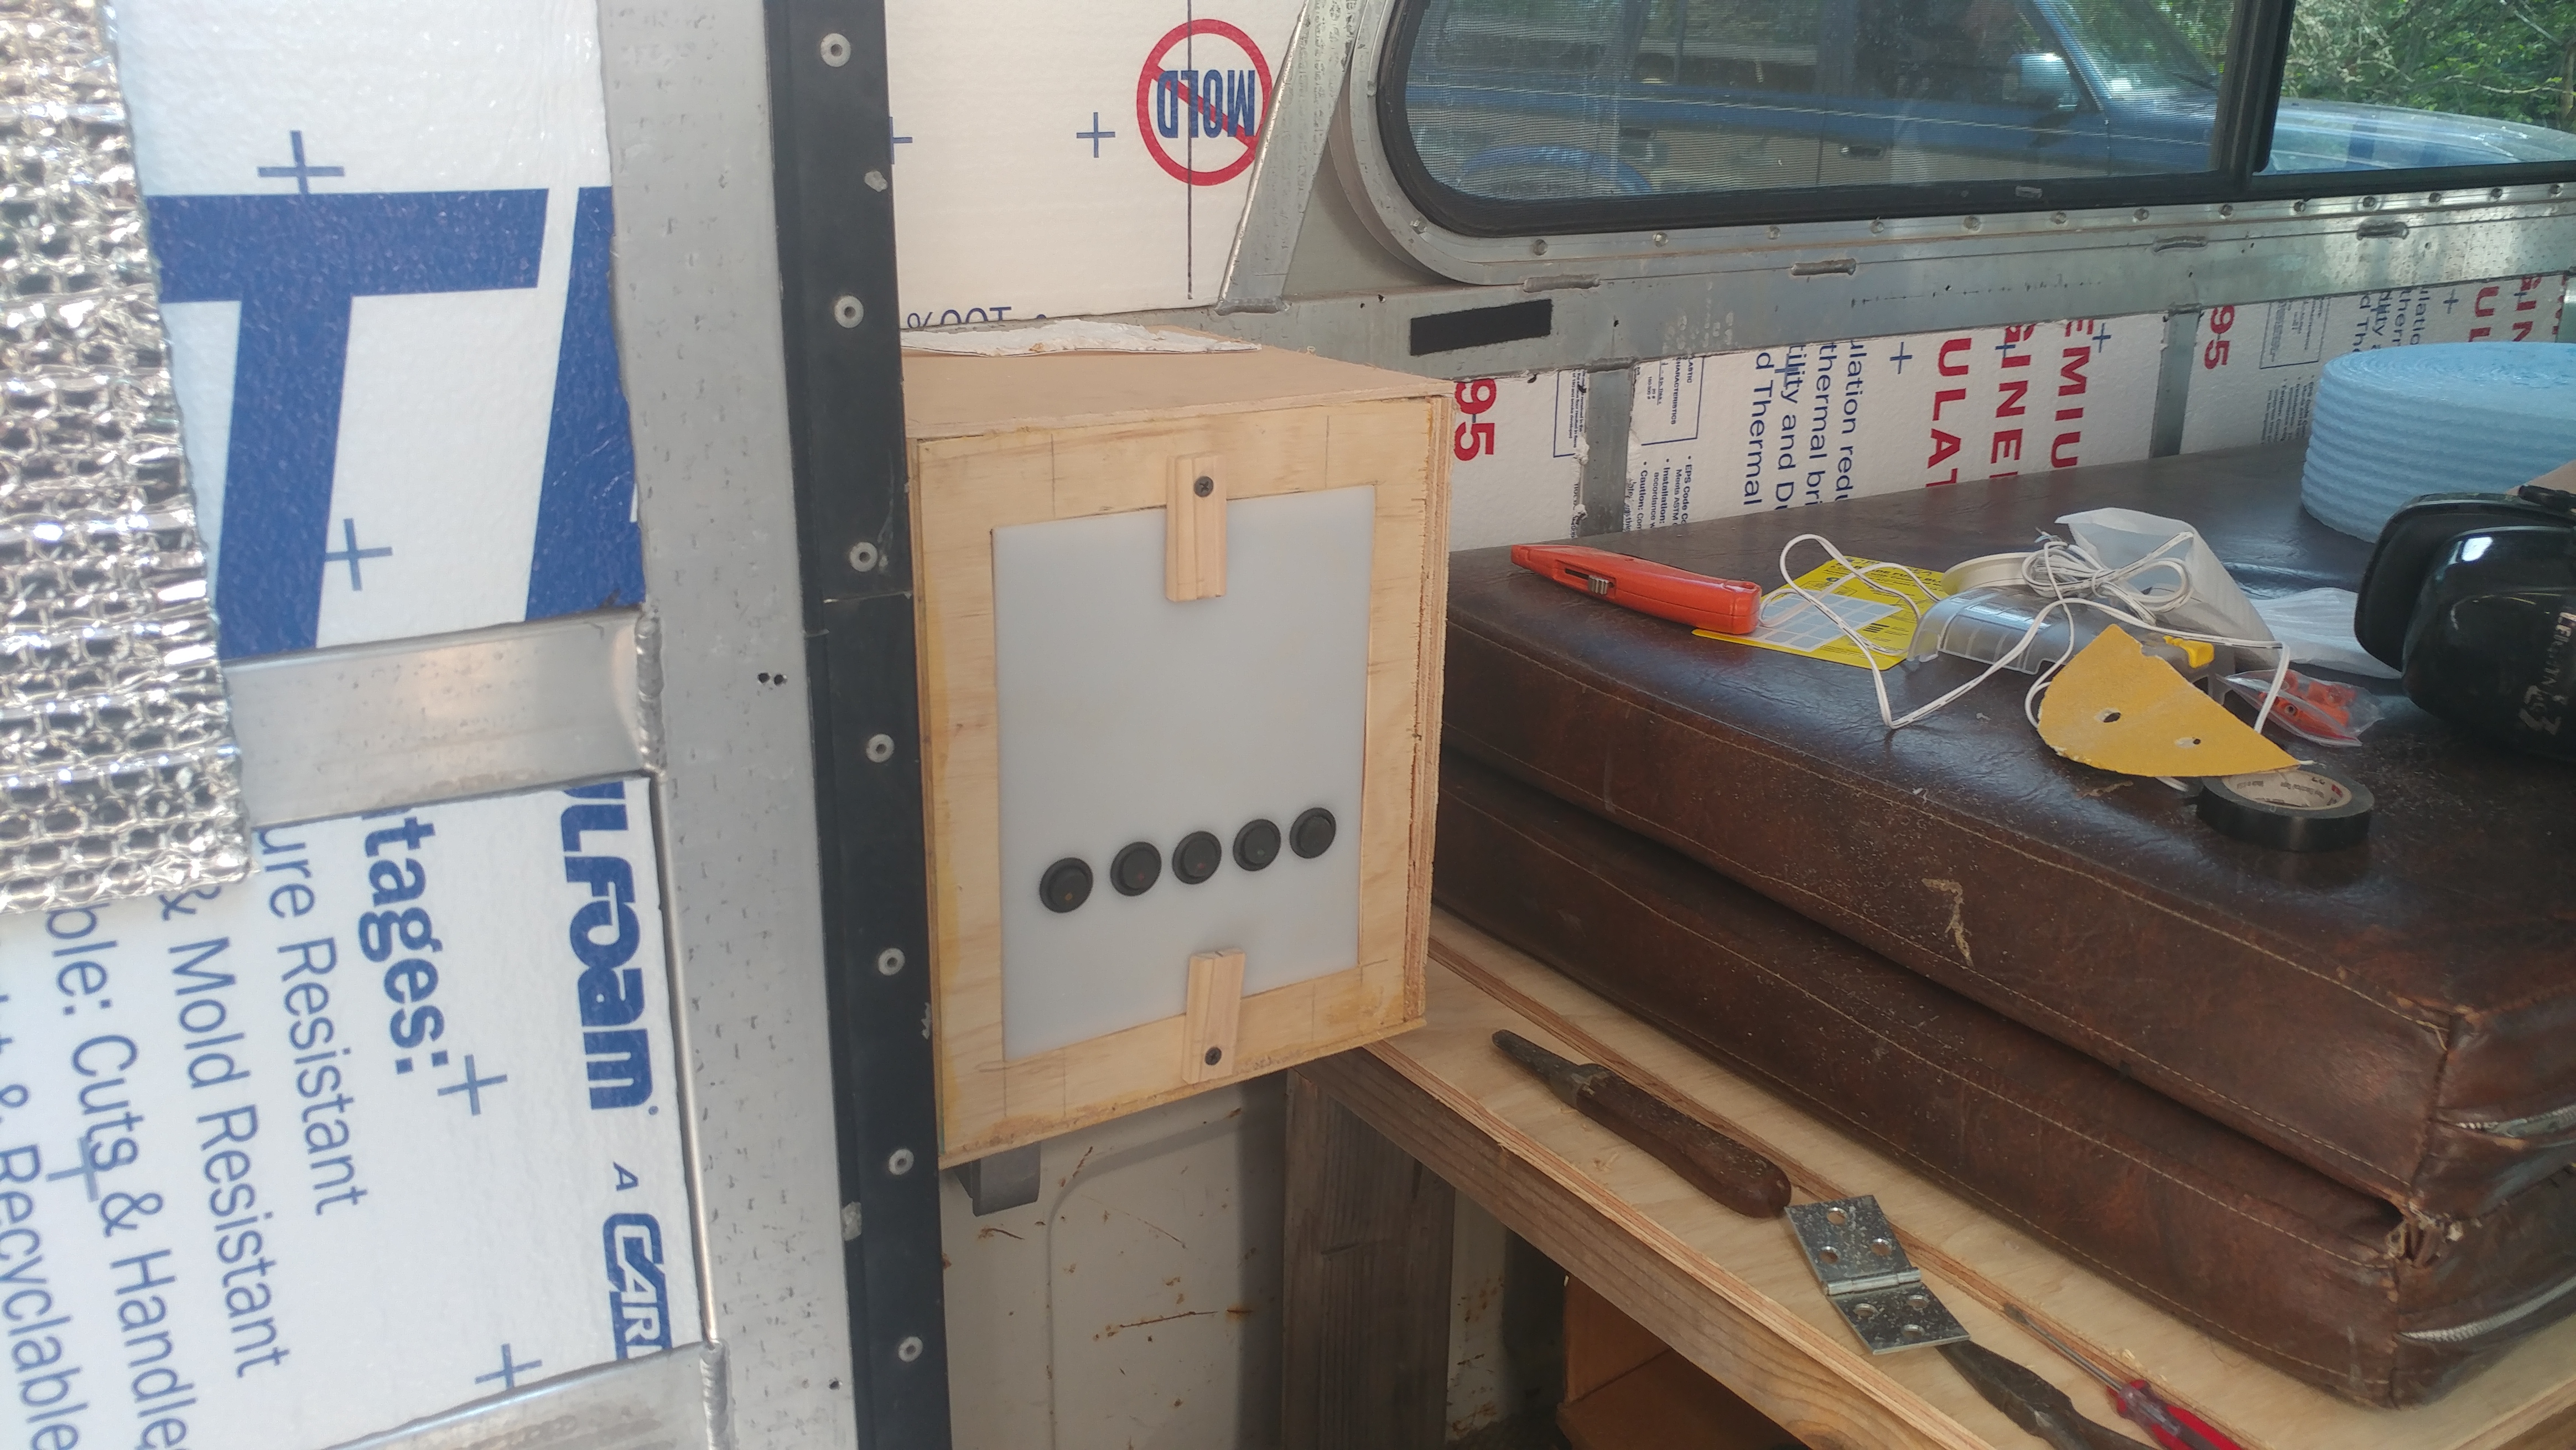
I made the switch plate with some spare plastic. I cut it square to the major dimensions of the cut-out, and trimmed the cut-out to fit the plastic. The plate stays in place with some blocks that I glued in behind it, and a couple pieces of wood on screws that keep it from falling out.

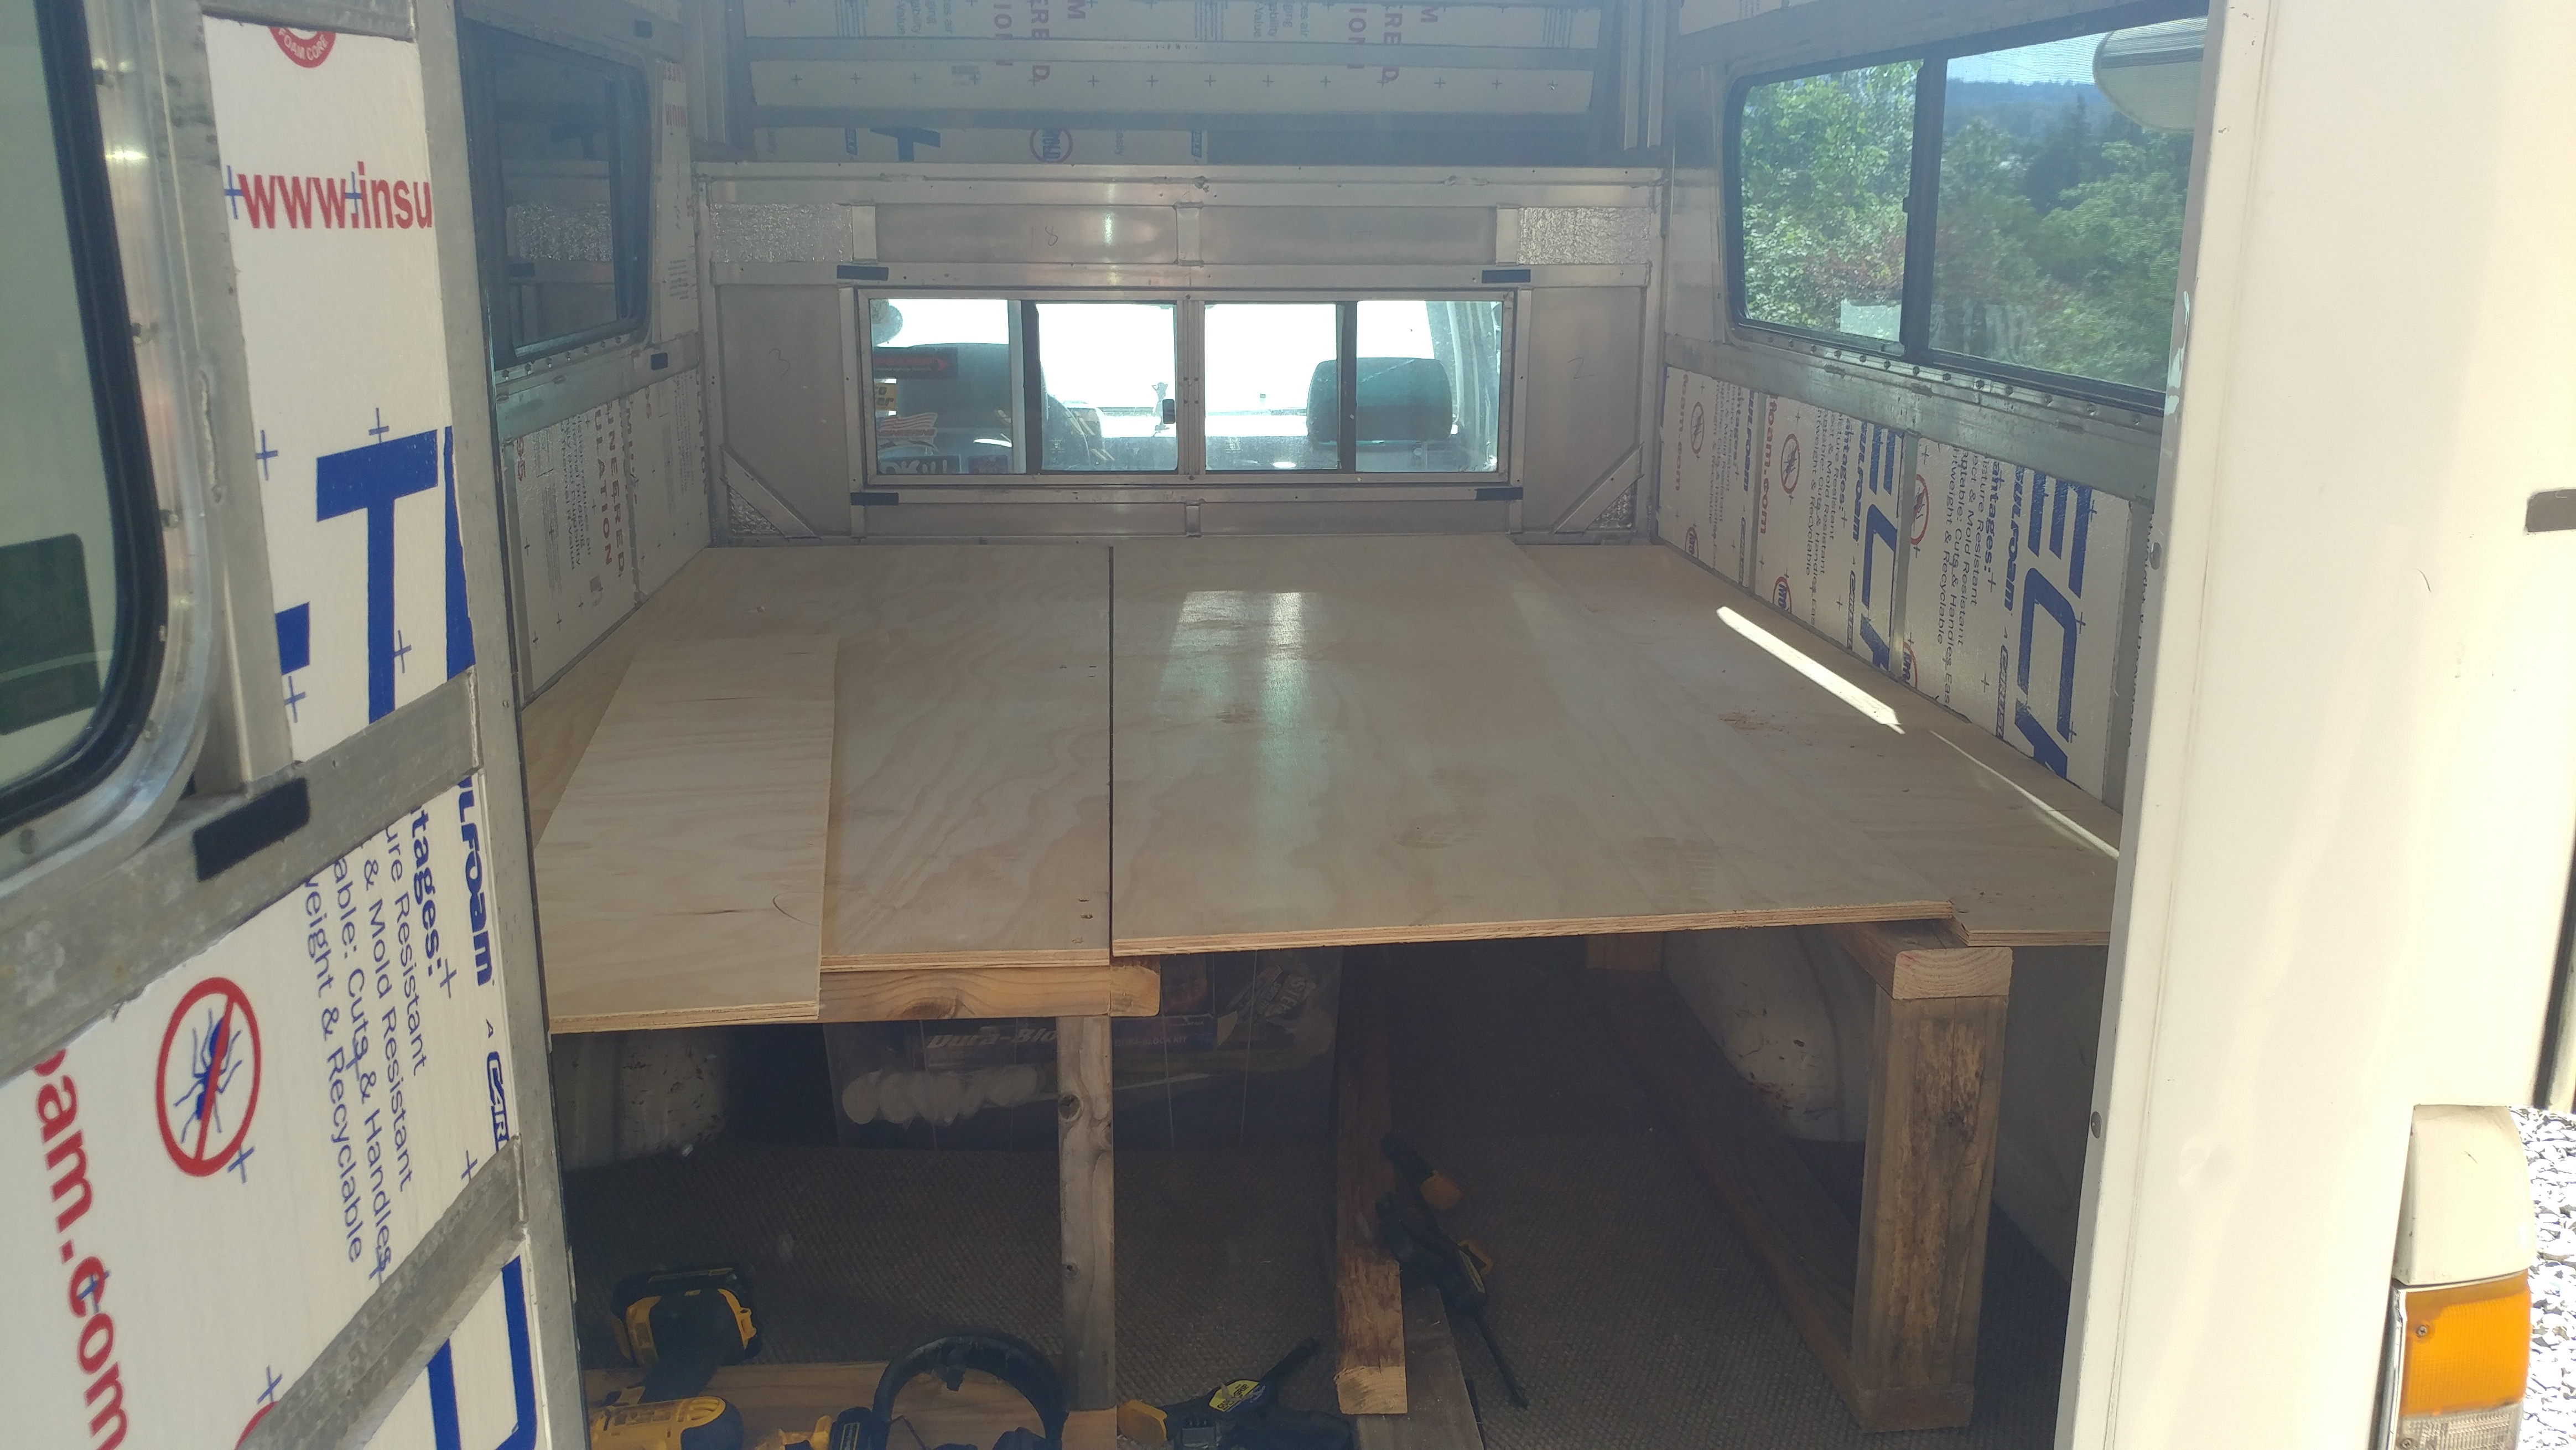
The bed also now spans the width of the camper. On the passenger side, I built basically the same structure as on the driver side, but with the bed rail supporting the plywood top. This creates a surprisingly sturdy surface to lay on, with the off cut of plywood from the bedframe on the passenger side offering enough strength.

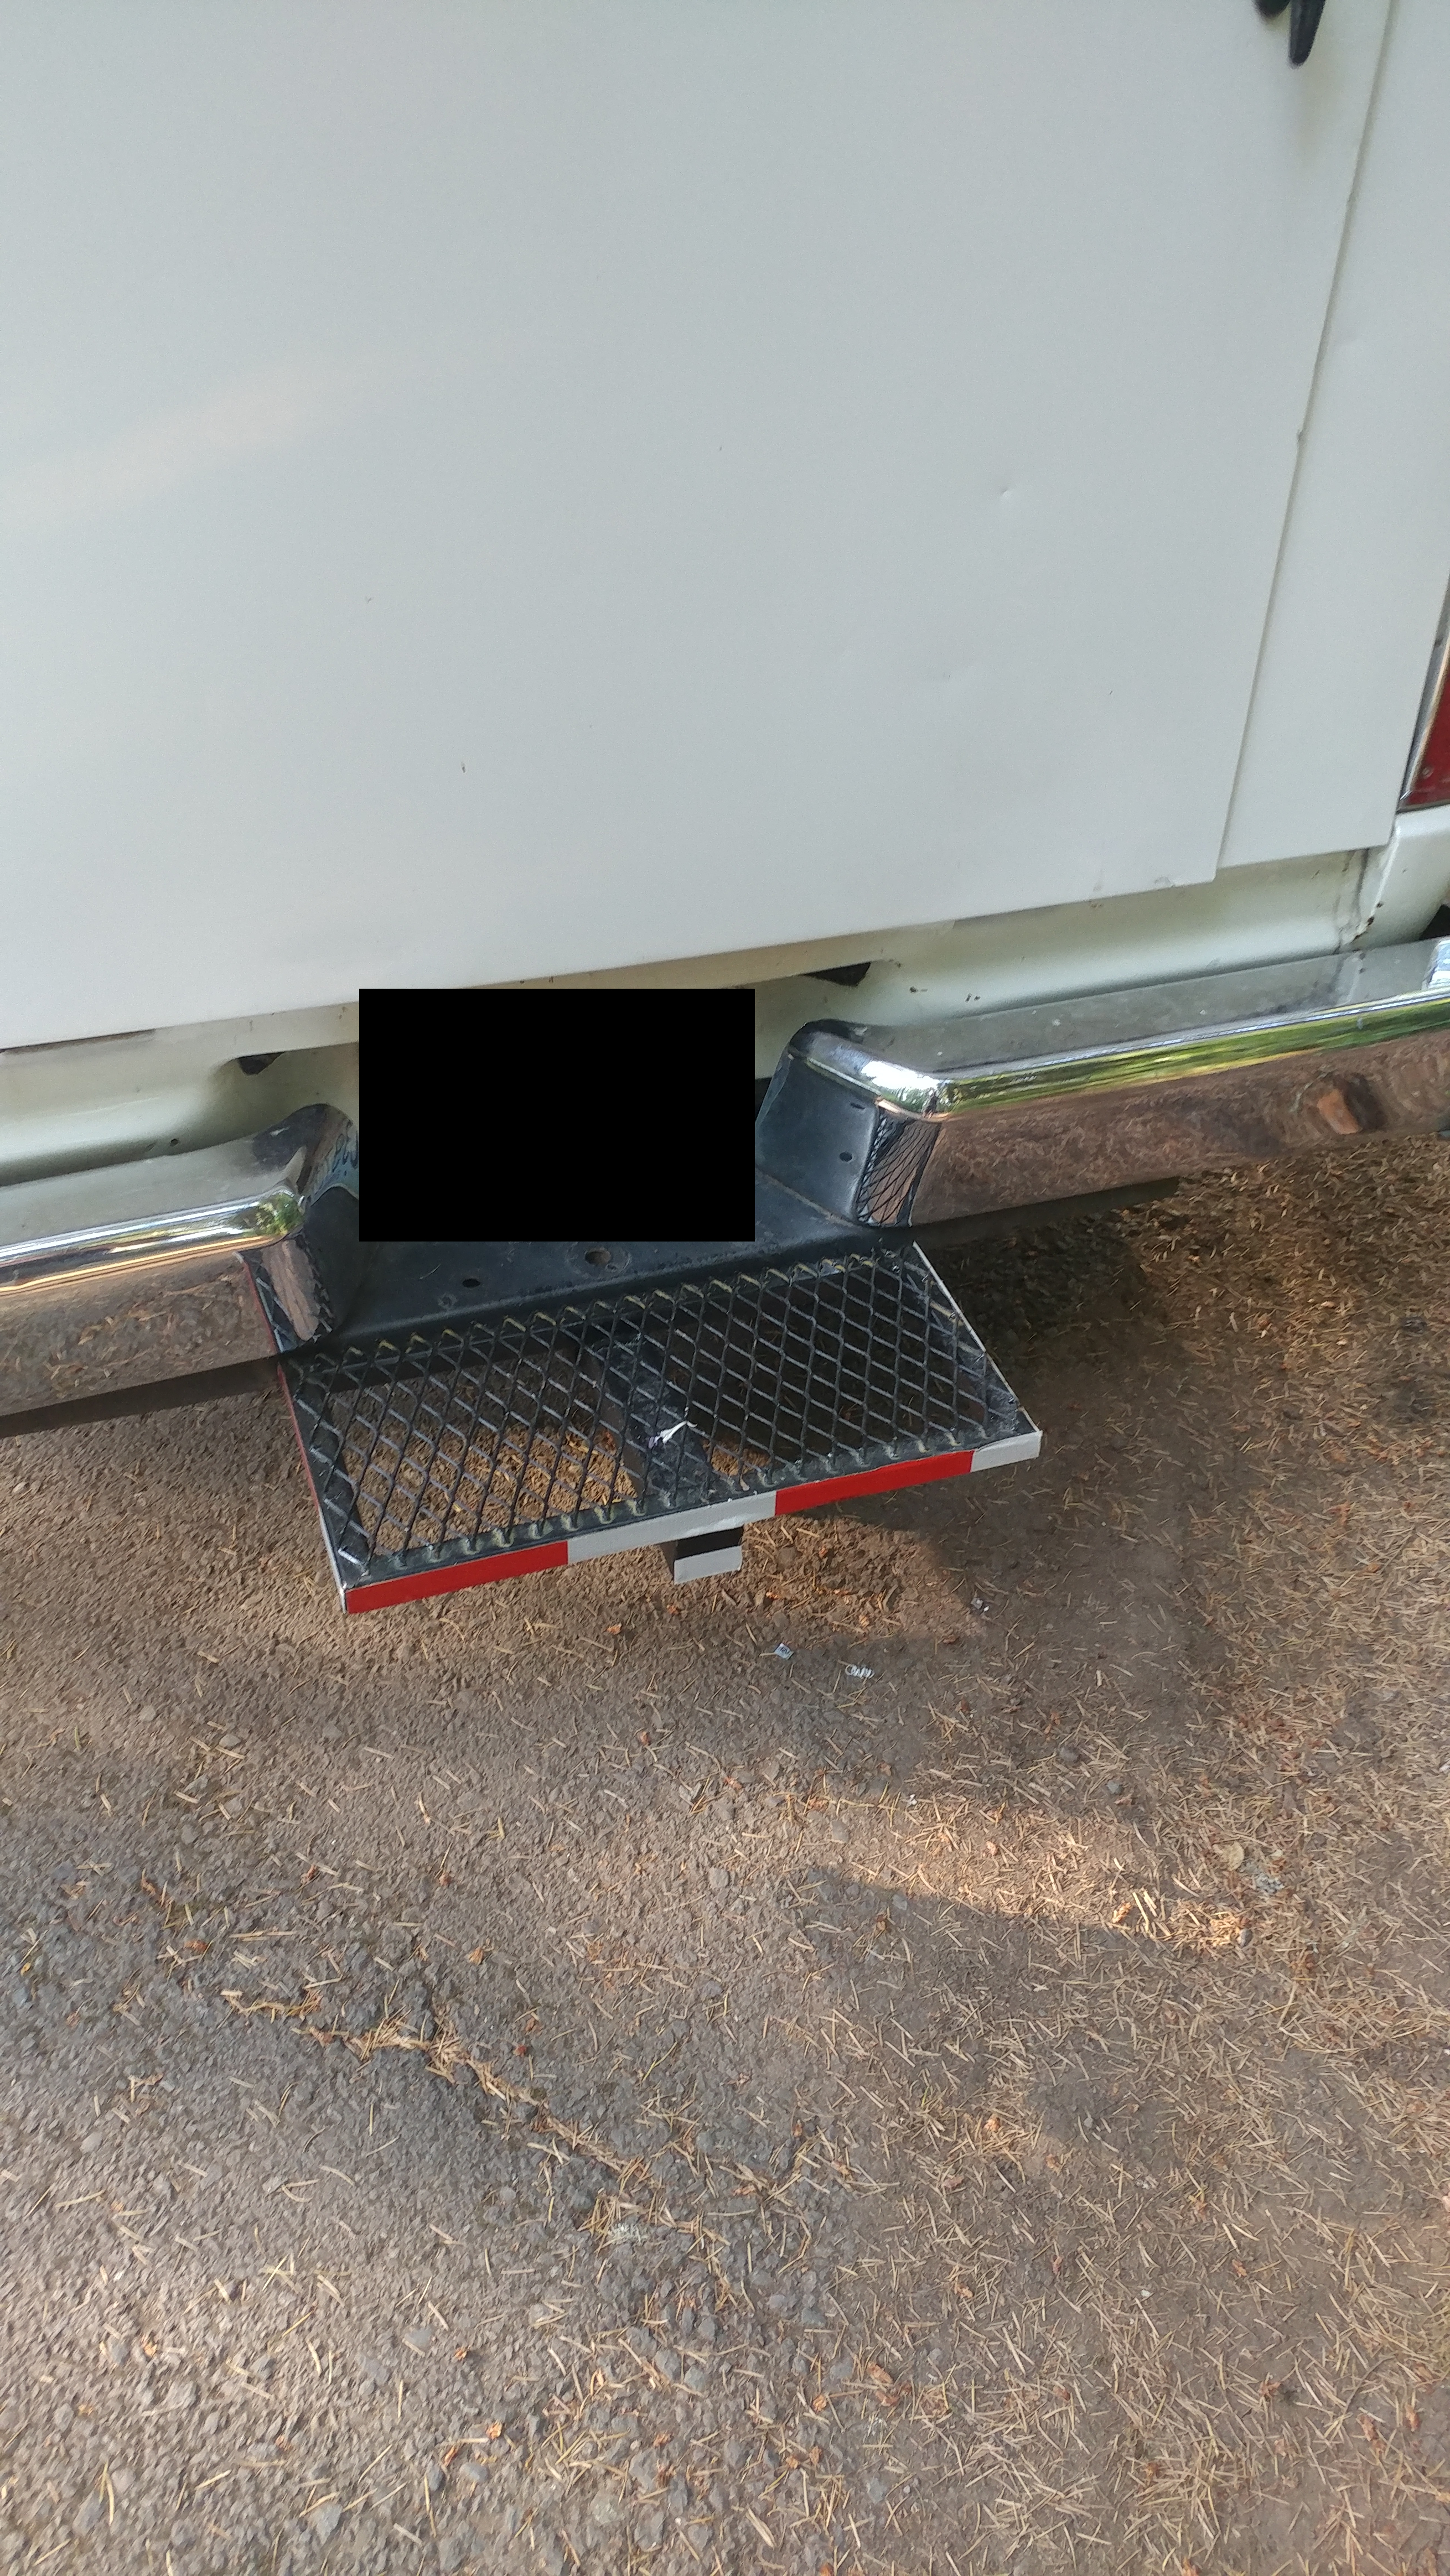
Also, while in the building mood, I welded a step that fits in the receiver. We had a frame already laying around from when my dad built a step for my grandfathers truck. I was happy to see that by welding this frame to a piece of square tube from the receiver, it was at the exact same height as the existing step in the bumper. I also added some expanded metal that was collecting dust from a trailer that I had renovated a few years prior. The step makes it much easier to get into the bed of my truck now, and doesn’t even protrude far enough to cause problems.
